As part of your design process, you'll need to start with a block diagram, circuit schematic, and eventually a PCB layout
Home
› How To Make Floating Picture Frames : 3 Easy Diy Floating Picture Frames And How To Cut Plexiglass : The blank space between the edge of the photo and the edge of the frame will give the appearance of the photo floating in the frame.
How To Make Floating Picture Frames : 3 Easy Diy Floating Picture Frames And How To Cut Plexiglass : The blank space between the edge of the photo and the edge of the frame will give the appearance of the photo floating in the frame.
How To Make Floating Picture Frames : 3 Easy Diy Floating Picture Frames And How To Cut Plexiglass : The blank space between the edge of the photo and the edge of the frame will give the appearance of the photo floating in the frame.. Use a driver bit to drill hex screws into the wall where you want it hung. When the clear finish dried, we positioned the painting in place and affixed it to the diy floating frame we made using nails. Creating a floating glass frame that hangs by a chain if you want a unique way to hang your frame you can add a chain to the edges of the picture frame and hang it from a hook. The 1×4 will be the back piece that attaches to the wall. This was made with reclaimed cedar that was about 85 years old.photo frame video:
Once the painting was dry, we got to work building the frame—don't skip this part! Construct the frame of a floating dock take your 2x8s and prepare them first. This particular painting was done on a masonite board, but the plan can be modified for wrapped canvas as well. Unless you're going for an eclectic look, keep the floating space the same on all sides. First, cut a 45 degree angle at the end of one of the 1x2 board with your miter saw.
Floating Frames Add Value Visual Appeal To Canvas Prints Paintings from www.ucsart.com There are many different reasons why you could or should use float frames. Float frames are different from regular frames meant for canvas because they are made to be just a little bit bigger than the canvas itself. Get free shipping on qualifying orders! Shop and save on floater frames online at blick®. Here's a quick video and the written tutorial is below. Construct the frame of a floating dock take your 2x8s and prepare them first. First, cut a 45 degree angle at the end of one of the 1x2 board with your miter saw. We just nailed through the frame, at the back, into the stretcher.
If you want a simpler way to make picture frames with just a saw and a nail gun, i've got a tutorial for 3 styles of easy floating diy picture frames here.
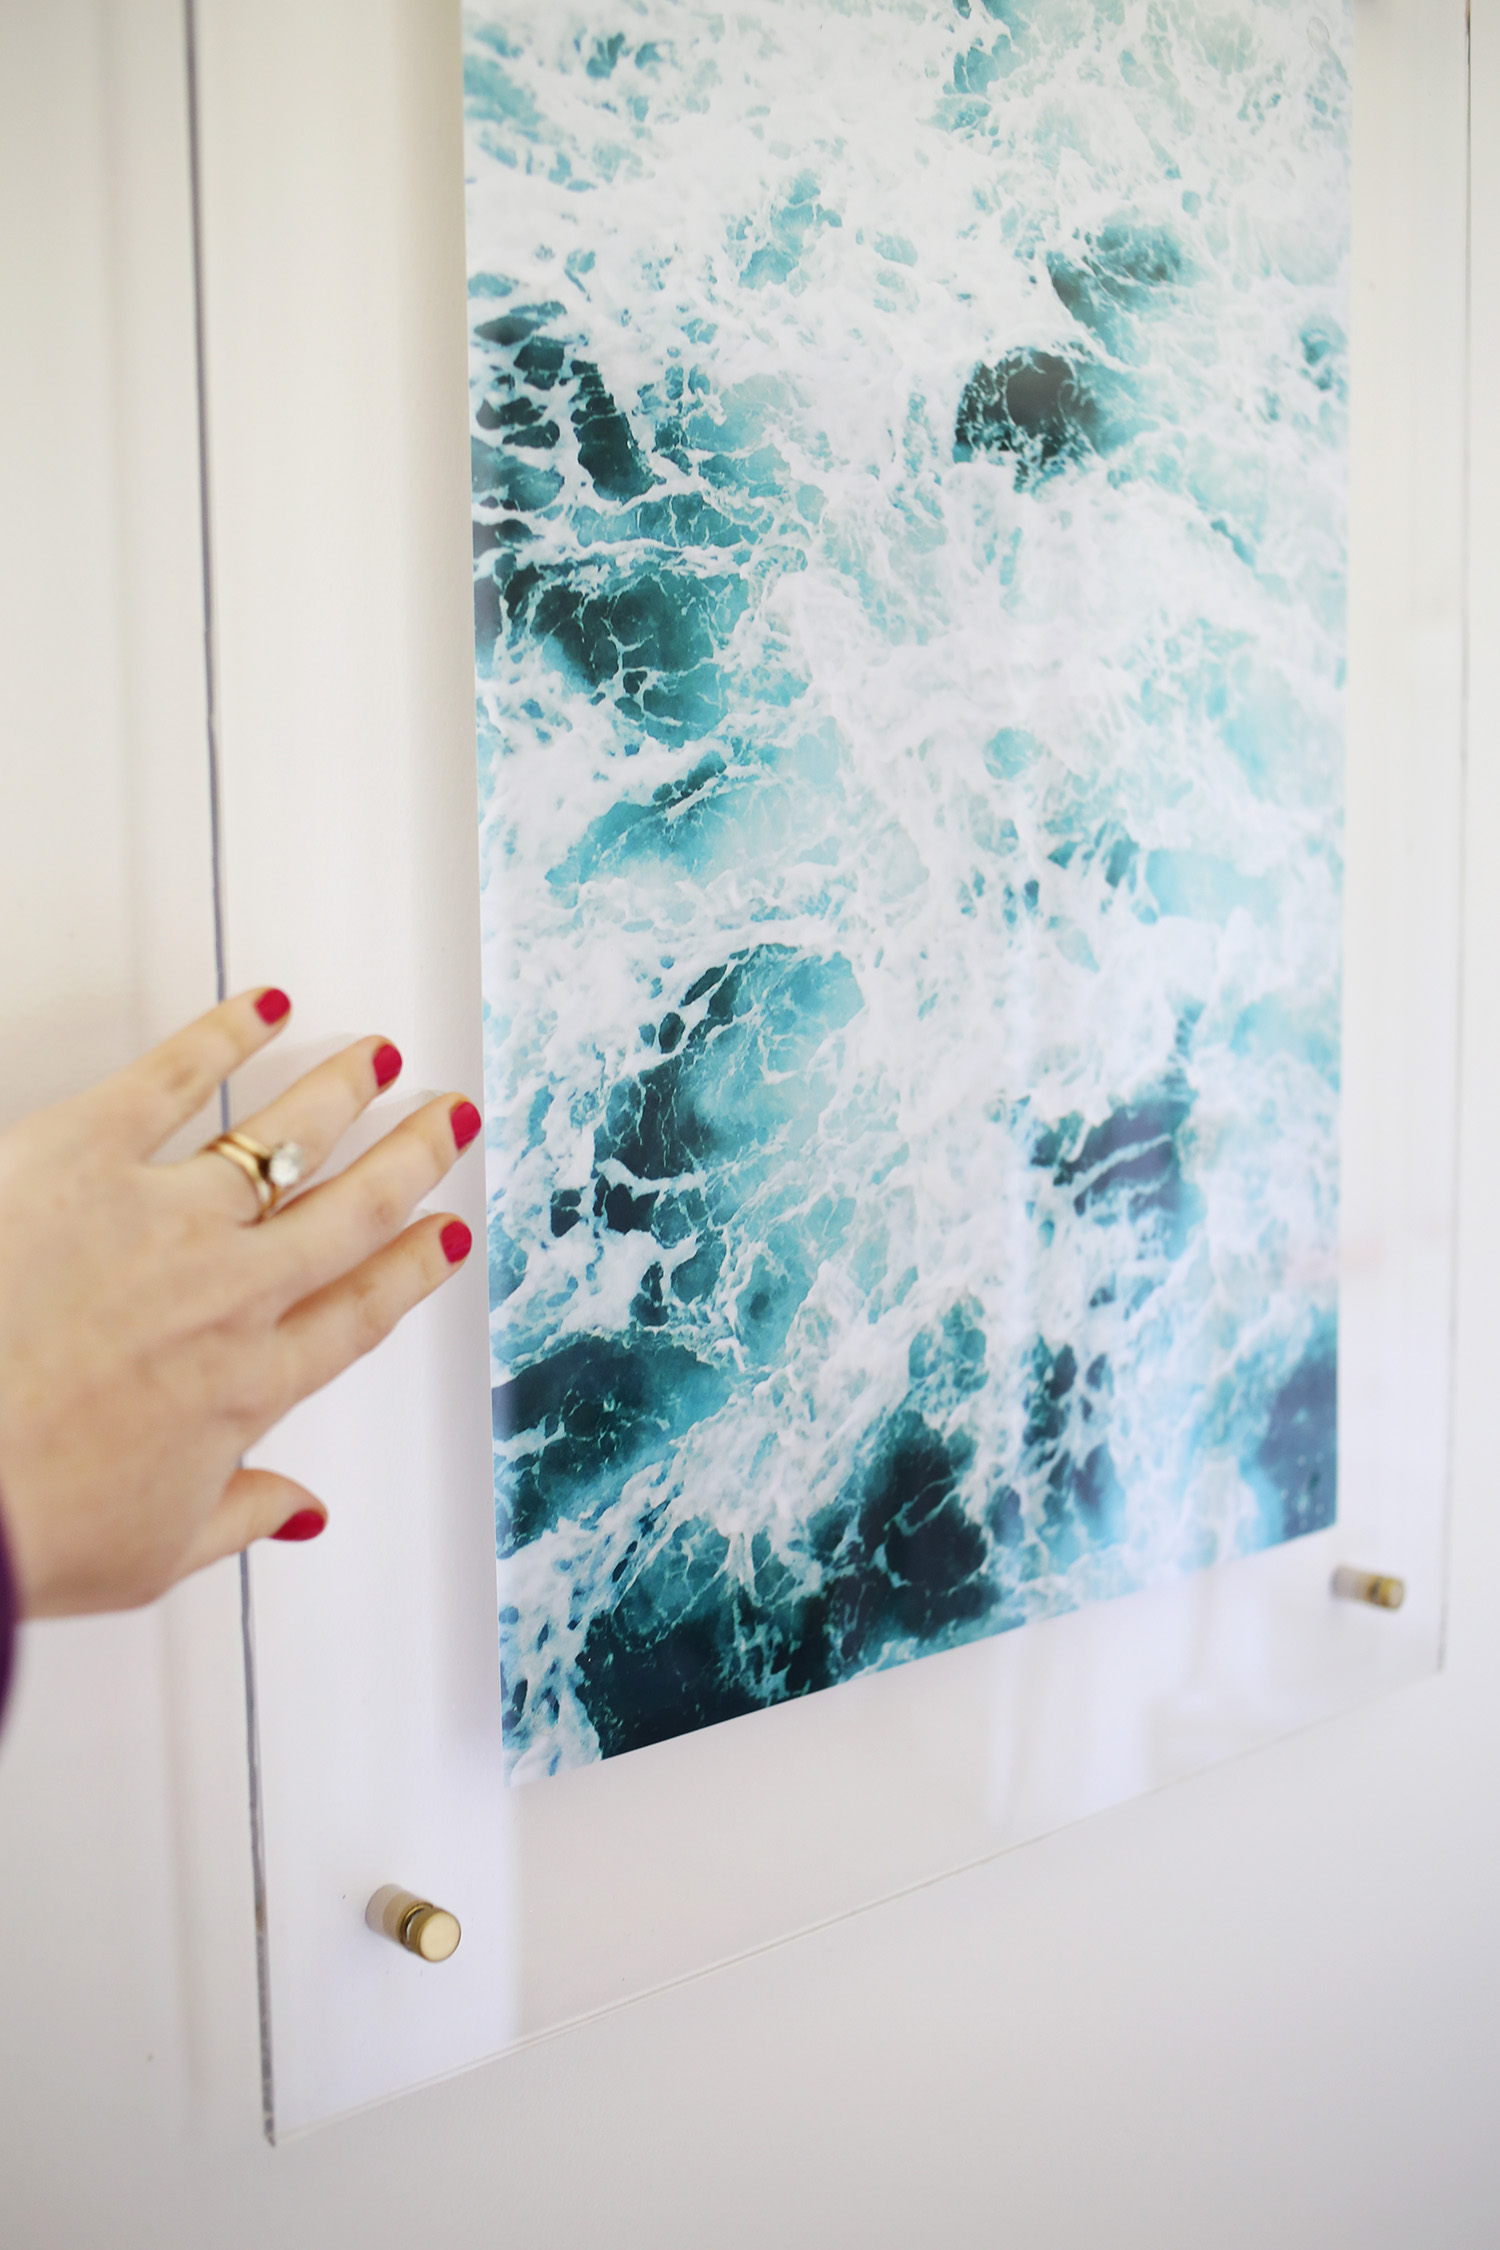
This was made with reclaimed cedar that was about 85 years old.photo frame video: Clear acrylic frames can be made to fit artwork of any size, and crafters of all skill levels should be able to complete this project in less than an hour. Again, just like before, the mitered corners are optional. I love how these floating frames turned out and for a fraction of the cost of the standoff frames i've found online or in stores! Diy custom framingno power tools required diy canvas. Place a hex bolt through each corner hole and then add steel spacers behind the polycarbonate sheets. Get free shipping on qualifying orders! They're relatively simple to build and can be as fancy as you like. I ripped a 1×3 in half for the back piece. Remember to include space on the frame for any text or engraved images. Use a driver bit to drill hex screws into the. First, cut a 45 degree angle at the end of one of the 1x2 board with your miter saw. The 1×4 will be the back piece that attaches to the wall.
They're relatively simple to build and can be as fancy as you like. Build your own float frame floating frame floating. I ripped a 1×3 in half for the back piece. That is the length you'll need to cut down your wood strips to make your frame. Use a driver bit to drill hex screws into the.
Floating Picture Frames 11 Steps With Pictures Instructables from content.instructables.com Use a driver bit to drill hex screws into the wall where you want it hung. The 1×3 will be the shelf, and the 1×2 will be the front lip of the shelf. Easy diy floating frame tutorial learn how to frame. Diy custom framingno power tools required diy canvas. There are many different reasons why you could or should use float frames. This may have been mentioned already, but you could also use washi tape to attach the picture to the glass. Shop our wide selection of floater frames online. After doing a little research, i came up with a diy floating frame that's simple and modern, and very easy to make.
The thing i particularly like about float frames is that they're easy to build, look great and they're pretty versatile as far as framing different.
If you want a simpler way to make picture frames with just a saw and a nail gun, i've got a tutorial for 3 styles of easy floating diy picture frames here. Diy custom framingno power tools required diy canvas. Here's a quick video and the written tutorial is below. At this point you can add any kind of picture hanging hardware you prefer. Float frames are exactly what they sound like. This inexpensive painting ($40 on ebay) needed a frame, but i didn't want to invest the money in an expensive custom job. They're relatively simple to build and can be as fancy as you like. Unless you're going for an eclectic look, keep the floating space the same on all sides. I love how these floating frames turned out and for a fraction of the cost of the standoff frames i've found online or in stores! There are no plans for this build as frame sizes are dependent on the size of the artwork. I think that the float frame (or floater or floating frame as i've heard them called) is a particularly stylish way to display canvas art from paintings to canvas photo prints (also check out my video on how to stretch your own canvas). We use the laser to cut out 2 frames, both sized 7.5 x 5 with images sized 3 x 3.5 and 3 x 4. I began by cutting down the lattice pieces so it would make a frame that the plexiglass would fit inside.
The blank space between the edge of the photo and the edge of the frame will give the appearance of the photo floating in the frame. Determine how much extra space you want between the floating image and the frame itself, then select a floating frame with dimensions to match. Again, just like before, the mitered corners are optional. Use a driver bit to drill hex screws into the. That is the length you'll need to cut down your wood strips to make your frame.
Floating Acrylic Frame Diy A Beautiful Mess from abeautifulmess.com Open your corner brackets first. The thing i particularly like about float frames is that they're easy to build, look great and they're pretty versatile as far as framing different. For this version of the floating frame, we opted for a slightly more complex rabbet joint. I love the look of floating frames and set out to come up with the simplest plan to make one, using what we had in the garage. I think that the float frame (or floater or floating frame as i've heard them called) is a particularly stylish way to display canvas art from paintings to canvas photo prints (also check out my video on how to stretch your own canvas). I began by cutting down the lattice pieces so it would make a frame that the plexiglass would fit inside. Place them on each corner of the canvas and place the wood strips on the outside of the brackets. 1″ x 2″ lengths of wood (in actuality.
That is the length you'll need to cut down your wood strips to make your frame.
Clear acrylic frames can be made to fit artwork of any size, and crafters of all skill levels should be able to complete this project in less than an hour. Diy custom framingno power tools required diy canvas. Shop and save on floater frames online at blick®. Remember to include space on the frame for any text or engraved images. The 1×4 will be the back piece that attaches to the wall. This was made with reclaimed cedar that was about 85 years old.photo frame video: Wide selection of styles and sizes! Float frames are exactly what they sound like. My recommendation for floating frames with chains would be to use a solid wood picture frame to start. Make one (or several!) using inexpensive acrylic sheets. Construct the frame of a floating dock take your 2x8s and prepare them first. There are no plans for this build as frame sizes are dependent on the size of the artwork. Line the board you just cut on one edge of the canvas, use your combination square and mark the distance you want between the canvas and the frame to create the gap for the floating frame look.